
How a robot arm reaches a point
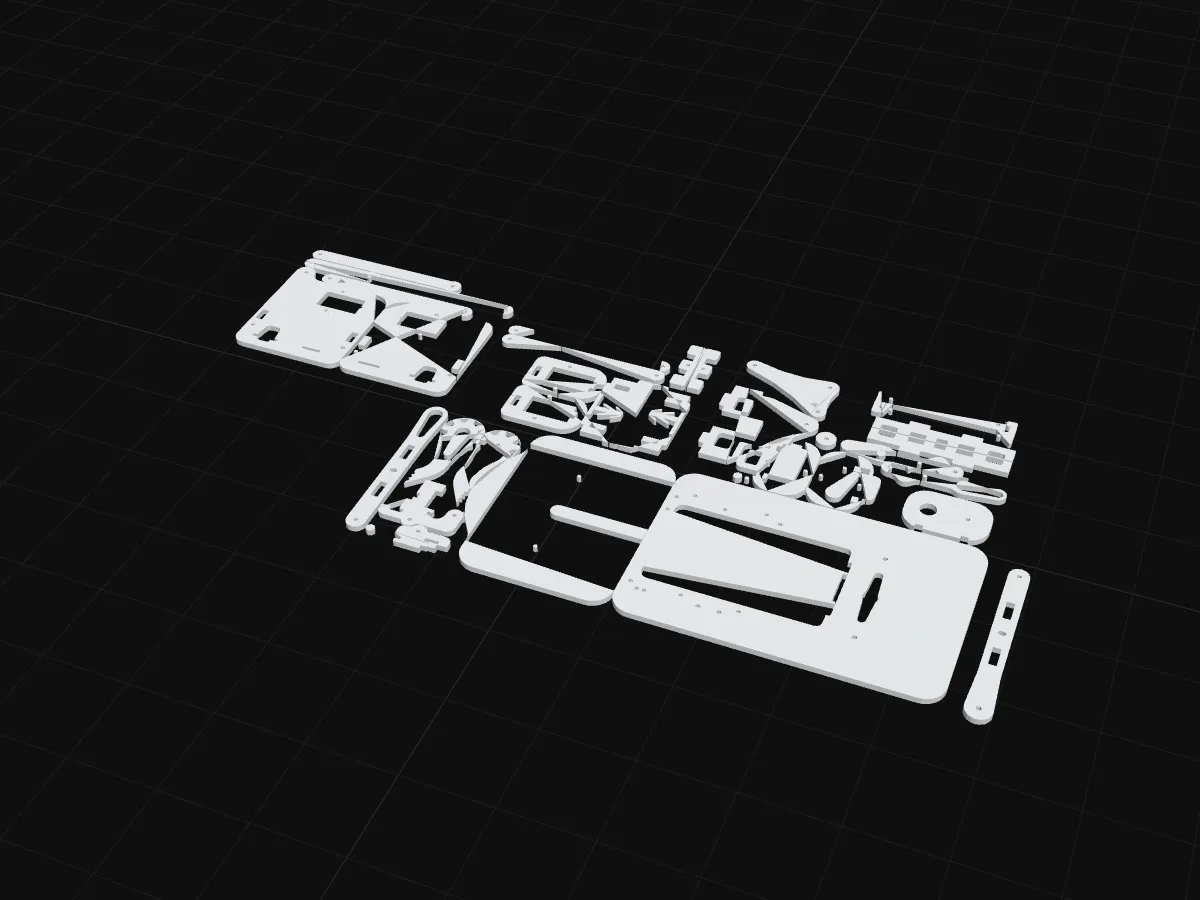
This arm is built from the MeArm, a much-loved open-source desktop arm designed by Ben Gray and Jack Howard. The plates are printed from the original MeArm drawing (licensed CC BY-SA 3.0, credited in every file). Everything else is new: the ESP32 firmware, the inverse kinematics, the phone control page and the camera picking.
Four servos, four jobs
| Servo | Moves | Range |
|---|---|---|
| base | turns the whole arm left and right | about 180° |
| shoulder (“right” servo on the MeArm) | tilts the upper arm forward and back | limited by the linkage |
| elbow (“left” servo) | raises and lowers the forearm | limited by the linkage |
| gripper (“claw”) | opens and closes | open / closed |
Servos go to an angle you tell them and hold it (the Robotics for Dummies course explains how). The arm’s whole job is to figure out which three angles put the gripper where you want it.
The trick that makes the MeArm easy
The MeArm’s linkages do two clever things:
- They keep the gripper level whatever the arm does. You never have to calculate a wrist angle.
- The elbow servo sets the forearm’s angle relative to the ground, not relative to the upper arm.
So the problem splits neatly:
- From above, the base angle is just the direction of the target: .
- From the side, it is a two-link arm in a flat plane: upper arm , forearm , and a target at a horizontal distance and height .
Two links, the law of cosines
Shoulder, elbow and wrist form a triangle with sides , and . The law of cosines gives the angles inside it, and from them the joint angles. Drag the target and watch the two joints:
Moving in straight lines
If you just send the servos from one set of angles to another, the gripper swings along a curve. To move in a straight line, the firmware splits the move into 4 mm steps, solves the inverse kinematics for every step, and checks the whole path is reachable before it moves at all. One step every 20 ms means 200 mm per second.
Control
The arm makes its own Wi-Fi network. On your phone you get three sliders (forward, left, up) and buttons to open, close and go home. A computer can send the same commands, which is how the optional camera chapters let a vision language model choose an object and the arm pick it up (chapters 6 and 7).
What is in this guide
- How a robot arm reaches a point (this chapter, free)
- Parts and printing
- Assembly, wiring and power
- Calibration and measuring your arm
- The code: kinematics, straight lines, the phone page
- Add a camera (optional): parts, mount, flashing and the vision model
- Picking with a camera, troubleshooting, and what next
Chapters 6 and 7 are an optional upgrade: a camera above the table and a vision language model let the arm pick up an object you describe in words. The arm is complete without them.


