Első kiadás

Robot Arm with Gripper (MeArm-based)

A four-servo arm with a gripper that teaches forward and inverse kinematics, with an optional camera that picks targets.

Nehézség
Beginner to intermediate
Építési idő
2 evenings
Digitális útmutató 20 EUR
Rendelés e-mailben

Egy napon belül válaszolunk a fizetési adatokkal (átutalás vagy PayPal), és a fizetés után azonnal e-mailben küldjük a fájlokat.

A PDF-et, a kódot és a 3D fájlokat e-mailben kapod meg. Az ár minden adót tartalmaz.

Készlet alkatrészekkel 70,34 EUR

A készlet tartalmazza az útmutatót. Értesíts, ha kész a készlet.

Ez az oldal még nincs lefordítva, ezért angolul jelenik meg.

Mit kapsz

  • PDF guide: servos, power, forward kinematics, inverse kinematics with the law of cosines, calibration, joint limits
  • MicroPython firmware with straight-line moves and a phone control page, plus unit tests for the maths that you can run on a computer
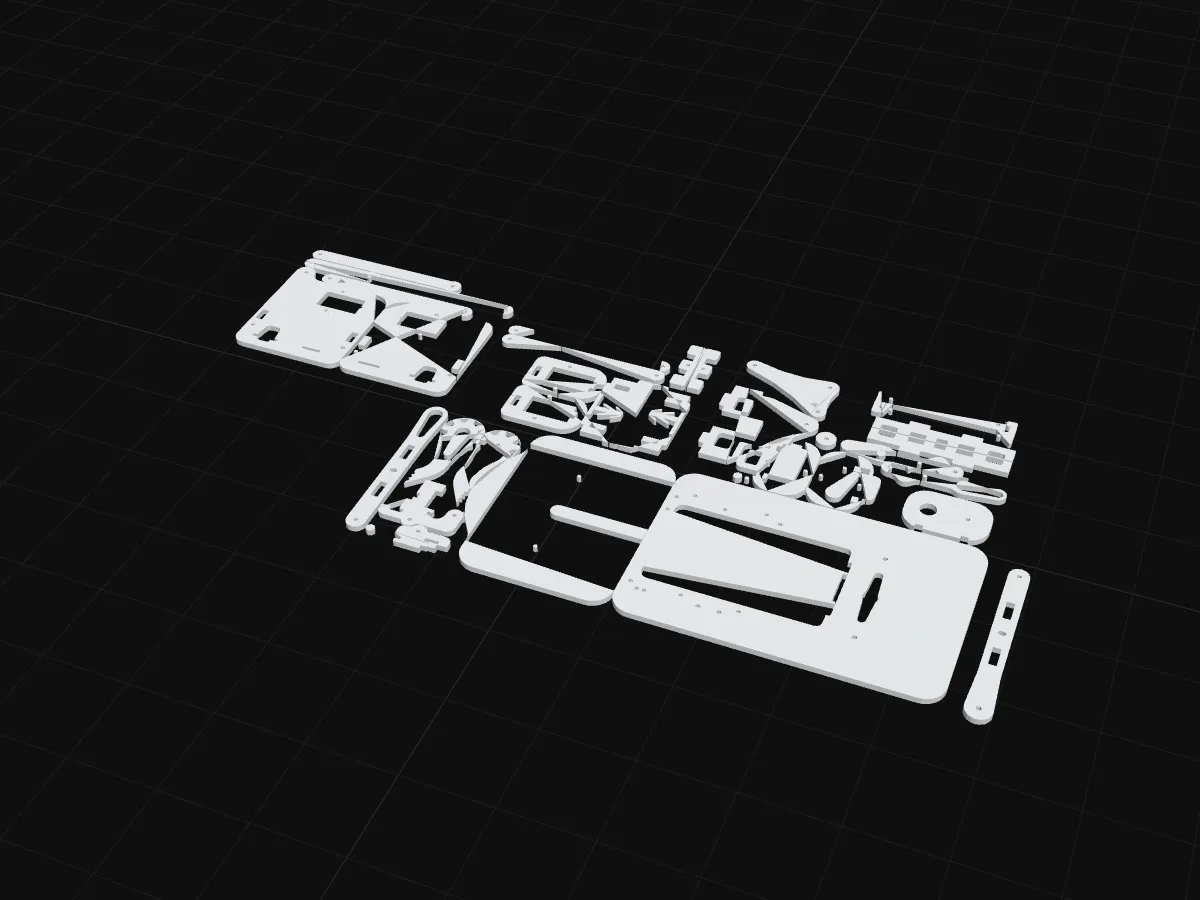
  • Printable MeArm plates (CC BY-SA 3.0, credited) prepared for 3D printing
  • Optional camera chapters: mounting and flashing an ESP32-CAM, then a vision language model chooses what to pick and the arm does the maths

Kinek szól

Beginners who know a little Python, and anyone curious how robot arms know where to move. No soldering.

You tell the arm “go to x, y, z” and it works out the angle of every joint. Drag the target and watch the angles change:

Kétszegmenses kar inverz kinematikájaHúzd a célt. A satírozott rész a kar hatótávja.
Váll θ1
60°
Alkar θ2 (a vízszinteshez)
1°
Távolság d
139mm

d² = x² + y², cos γ = (L1² + L2² − d²) / (2 L1 L2)

Szükséges alkatrészek

  • 1× ESP32 DevKit, 38-pin, ESP-WROOM-32, CP2102, USB-C
  • 4× SG90 micro servo, 180°
  • 1× Power adapter 5 V 4 A, 5.5×2.1 mm barrel plug
  • 1× DC barrel jack 5.5×2.1 mm female to screw terminal adapter
  • 1× Electrolytic capacitor 1000 µF (16 V or higher)
  • 2× Solderless breadboard, 400 points (half size)
  • 16× Dupont jumper wires male–male 20 cm (pack of 40)
  • 30× M3 screw, 8–20 mm, with nut (from an assortment box)
  • 1× USB-C data cable 1 m (USB-A to C)
  • 1× MeArm plates (all parts, 3 mm) 3D

Nincs a készletben

  • ESP32-CAM add-on (product 4)

A teljes lista boltokkal és olcsóbb alternatívákkal az útmutatóban van.

Belelapozás

Az útmutató első fejezete, ingyen olvasható.

How a robot arm reaches a point

This arm is built from the MeArm, a much-loved open-source desktop arm designed by Ben Gray and Jack Howard. The plates are printed from the original MeArm drawing (licensed CC BY-SA 3.0, credited in every file). Everything else is new: the ESP32 firmware, the inverse kinematics, the phone control page and the camera picking.

Four servos, four jobs

ServoMovesRange
baseturns the whole arm left and rightabout 180°
shoulder (“right” servo on the MeArm)tilts the upper arm forward and backlimited by the linkage
elbow (“left” servo)raises and lowers the forearmlimited by the linkage
gripper (“claw”)opens and closesopen / closed

Servos go to an angle you tell them and hold it (the Robotics for Dummies course explains how). The arm’s whole job is to figure out which three angles put the gripper where you want it.

The trick that makes the MeArm easy

The MeArm’s linkages do two clever things:

  1. They keep the gripper level whatever the arm does. You never have to calculate a wrist angle.
  2. The elbow servo sets the forearm’s angle relative to the ground, not relative to the upper arm.

So the problem splits neatly:

  • From above, the base angle is just the direction of the target: θ=atan2⁡(y,x)\theta = \operatorname{atan2}(y, x).
  • From the side, it is a two-link arm in a flat plane: upper arm L1L_1, forearm L2L_2, and a target at a horizontal distance rr and height hh.

Shoulder, elbow and wrist form a triangle with sides L1L_1, L2L_2 and d=r2+h2d = \sqrt{r^2 + h^2}. The law of cosines gives the angles inside it, and from them the joint angles. Drag the target and watch the two joints:

Kétszegmenses kar inverz kinematikájaHúzd a célt. A satírozott rész a kar hatótávja.
Váll θ1
60°
Alkar θ2 (a vízszinteshez)
1°
Távolság d
139mm

d² = x² + y², cos γ = (L1² + L2² − d²) / (2 L1 L2)

Moving in straight lines

If you just send the servos from one set of angles to another, the gripper swings along a curve. To move in a straight line, the firmware splits the move into 4 mm steps, solves the inverse kinematics for every step, and checks the whole path is reachable before it moves at all. One step every 20 ms means 200 mm per second.

Control

The arm makes its own Wi-Fi network. On your phone you get three sliders (forward, left, up) and buttons to open, close and go home. A computer can send the same commands, which is how the optional camera chapters let a vision language model choose an object and the arm pick it up (chapters 6 and 7).

What is in this guide

  1. How a robot arm reaches a point (this chapter, free)
  2. Parts and printing
  3. Assembly, wiring and power
  4. Calibration and measuring your arm
  5. The code: kinematics, straight lines, the phone page
  6. Add a camera (optional): parts, mount, flashing and the vision model
  7. Picking with a camera, troubleshooting, and what next

Chapters 6 and 7 are an optional upgrade: a camera above the table and a vision language model let the arm pick up an object you describe in words. The arm is complete without them.

Kérdések

What is MeArm?

An open-source arm design by MeArm / Mime Industries, shared under CC BY-SA 3.0. The guide and code are new; the plate design is MeArm's, with full credit.

Do I need the camera?

No. The camera is an optional upgrade in the last two chapters, which cover everything it needs: parts, mounting, flashing and the vision model setup.

Digitális útmutató 20 EUR
Rendelés e-mailben

Egy napon belül válaszolunk a fizetési adatokkal (átutalás vagy PayPal), és a fizetés után azonnal e-mailben küldjük a fájlokat.

A PDF-et, a kódot és a 3D fájlokat e-mailben kapod meg. Az ár minden adót tartalmaz.

Jól illik hozzá